PyCG 3: Rendering Textures and Text
23 Jun 2019It is very common to render images and text in OpenGL programs. In OpenGL, both tasks can be done using textures. With the help of numerous helpful Python packages, it is much easier to load images under PyOpenGL environment.
Textures
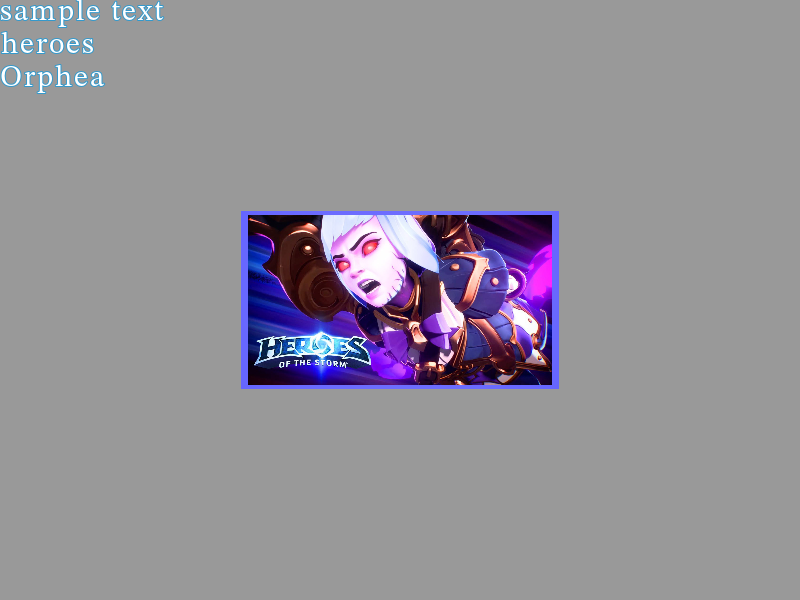
Textures are images loaded into OpenGL and rendered on screen. With the help of Pillow, loading images can be very easy. The basic procedure of loading a texture in Python is shown as below.
import numpy as np
import ctypes
from PIL import Image

# open the image in PIL and convert it into numpy array
image = np.asarray(Image.open('image.jpg'), np.uint8)
# get the C pointer of the image
imageDataPtr = image.ctypes.data_as(ctypes.POINTER(ctypes.c_uint8))

# create texture
textureId = glGenTextures(1)

# disable alignment constraints
glPixelStorei(GL_UNPACK_ALIGNMENT, 1)

# bind texture
glBindTexture(GL_TEXTURE_2D, textureId)
# load texture
glTexImage2D(
        GL_TEXTURE_2D,
        0,
        GL_RGB, # how the texture is stored in memory
        image.shape[1],
        image.shape[0],
        0,
        GL_RGB, # the format of the input
        GL_UNSIGNED_BYTE,
        imageDataPtr
    )

# setting up texture parameters
glTexParameteri(GL_TEXTURE_2D, GL_TEXTURE_WRAP_S, GL_CLAMP_TO_EDGE)
glTexParameteri(GL_TEXTURE_2D, GL_TEXTURE_WRAP_T, GL_CLAMP_TO_EDGE)
# set texture filtering mode
glTexParameteri(GL_TEXTURE_2D, GL_TEXTURE_MIN_FILTER, GL_LINEAR)
glTexParameteri(GL_TEXTURE_2D, GL_TEXTURE_MAG_FILTER, GL_LINEAR)

# unbind texture
glBindTexture(GL_TEXTURE_2D, 0)
To use a texture, simply activate texture and bind it, just like shown below.
glActiveTexture(GL_TEXTURE0)
glBindTexture(GL_TEXTURE_2D, textureId)
The texture will be passed into shaders as a sampler2D object uniform. We can access the interpolated pixel values by calling texture() function on the sampler.
Texture filtering
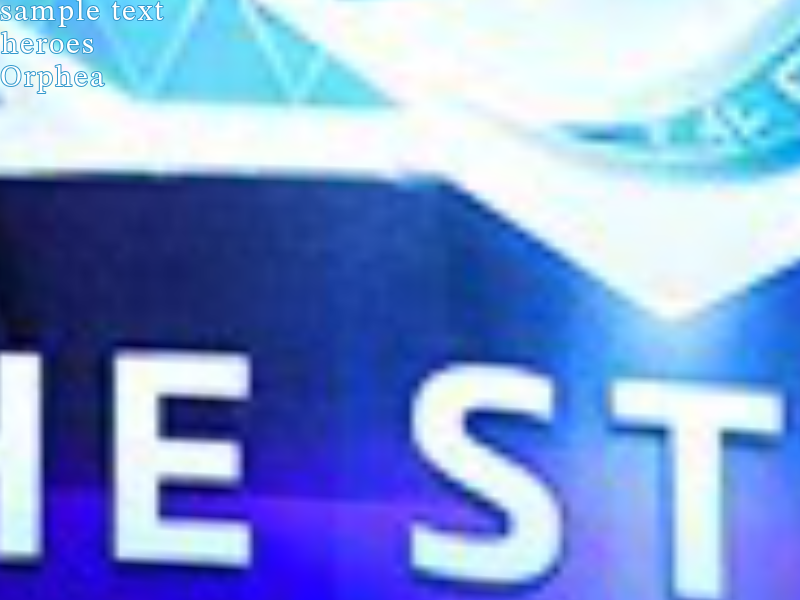
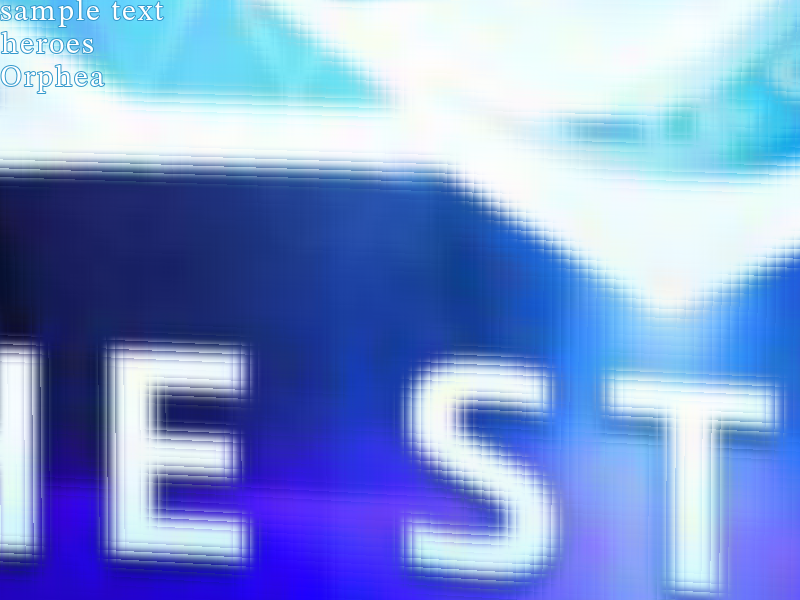
OpenGL provides two basic ways of interpolating texture pixel values, namely GL_NEAREST and GL_LINEAR. The former simply returns the value that is nearest to the texture coordinate, while the latter applies linear interpolation. The difference between the two types of interpolation is shown in the following figure.

Actually, there are methods that provide even better visual effects. For example, bicubic interpolation is just another one of them. The article discusses how to implement different types of bicubic interpolation in detail. The difference between linear interpolation and bicubic interpolation is shown as below. It can be seen that bicubic interpolation tends to generate a smoother result.
Rendering text
FreeType is a freely available software library to render fonts. It has a Python binding, namely freetype-py, which enables us to render text at ease. This example just shows how easy it is to get the rasterized font image with the package. Similarly, as it is introduced in learnopengl, we can write an object for rendering text on screen. My implementation can be found in text_drawer.py.
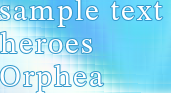
One functionality that I find necessary is to draw text with border, so that the text is still visible even when the background color and text color are the same. In order to do that, we need to make use of the Stroker object and the FT_Glyph_StrokeBorder function, which are able to thicken the border of the text during rendering. The usage of them can be summarized as follows.
import freetype as ft

# change the filename if necessary
face = ft.Face("Vera.ttf")
# the size is specified in 1/64 pixel
face.set_char_size(48*64)
# initialize Stroker
stroker = ft.Stroker()
# change the outline size if necessary
stroker.set(1, ft.FT_STROKER_LINECAPS['FT_STROKER_LINECAP_ROUND'], ft.FT_STROKER_LINEJOINS['FT_STROKER_LINEJOIN_ROUND'], 0)
# override default load flags to avoid rendering the character during loading
face.load_char('S', ft.FT_LOAD_FLAGS['FT_LOAD_DEFAULT'])
# initialize C FreeType Glyph object
glyph = ft.FT_Glyph()
# extract independent glyph from the face
ft.FT_Get_Glyph(face.glyph._FT_GlyphSlot, ft.byref(glyph))
# initialize Python FreeType Glyph object
glyph = ft.Glyph(glyph)
# stroke border and check errors
error = ft.FT_Glyph_StrokeBorder(ft.byref(glyph._FT_Glyph), stroker._FT_Stroker, False, False)
if error:
    raise ft.FT_Exception(error)
# bitmapGlyph is the rendered glyph that we want
bitmapGlyph = glyph.to_bitmap(ft.FT_RENDER_MODES['FT_RENDER_MODE_NORMAL'], 0)
In order to achieve the bordered text effect, we render all text in two passes: the first pass we render the thickened text with background color; the second pass we render the normal text with foreground color, and the result would be what we want. A demonstration is shown as below.
The result
The demo of this article is under Tutorial_3 folder.
Basic usages are introduced as below:
- Use mouse and “wasd” to look/walk around
- Press Esc to exit
- Press “p” to take screenshots
- Press “o” to switch between linear and bicubic interpolation